
Table of Contents:
- What Is a French Drain System?
- How Do French Drains Work?
- How to Tell If the French Drain Is Working
- Advantages of French Drains
- Disadvantages of French Drains
- What Does a French Drain Cost?
- How to Install French Drains
- What You'll Need
- How to Unclog a French Drain
- French Drain Maintenance
- Snaking the Drain
- Contact Mr. Rooter for Your French Drain Needs
If you're dealing with a permanently damp area in your lawn or end up with water in your basement after heavy rain, there's an easy solution — a French drain outside or inside your home. It's essential you have good drainage to ensure your house remains dry and mold-free. If you have groundwater collecting in your basement, not only is it an eyesore, but it can also cause the wood to mold and rot.
Here is a guide to French drains, so you'll learn everything you need to know about them, including what they are, how they work, how to install them, their cost, and more.
What Is a French Drain System?
An outdoor French drain is a trench you cover in rocks. It's connected to pipes to guide water away from your home. The first part of French drains is the elevated or higher end, referred to as a drain field. The drain field is where the groundwater or excess surface water enters the drainpipes. Then, there's the second part: the French drain exit point, which is the lowest point where the water leaves the drain.
A French drainpipe offers you the solution for if your basement is admitting water through the foundation. In a "wet" basement, the water presses against the foundation, slowly leaking through. However, a French drain reroutes the water near the foundation and releases it elsewhere.
If you're still getting water in your basement even though you have adequate outdoor drainage, you may have to install an interior French drain. You'd cut a trench in your basement slab along the foundation's perimeter, lay pipe in the trench, and put in a sump pump to move the water out of your basement and to the outdoors.
There is also the option of a pipeless French drain. A pipeless French drain doesn't have a pipe and has more internal resistance to the flow of water. Therefore, it can't evacuate as much surface water.
How Do French Drains Work?
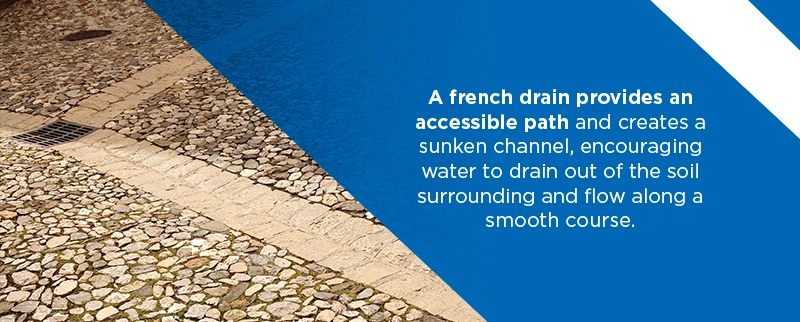
Water will always seek out the lowest point along the most straightforward path and readily move in loose soil into empty pockets. That is where a French drain comes in. It provides this accessible path and creates a sunken channel, encouraging water to drain out of the soil surrounding and flow along a smooth course.
For a French drain to function properly, it must leverage gravity as it initially forces the water down from the surface of saturated soil, pulling it along the downward-sloping pipe to the appropriate discharge point.
You should slope the trench bottom around an inch for every eight feet in the direction you're looking to have the water flow. Depending on your particular circumstances, you can divert the water to:
- A drainage ditch
- A low-lying spot on your property
- The street
- A dry well
A simple way to decide where to install the French drain around your house is to look for areas where water pools, particularly if the water is sitting for hours or days after it rains.
How to Tell If the French Drain Is Working
The easiest way to tell if your French drain is operating properly is to look at your lawn or basement. If there's water, chances are there could be a problem and your drain isn't working correctly. This issue could be due to clogging.
When water seeps through the soil to get to the French drain, it often brings along sediment into the drain, where it dumps the sediment in the drain on the gravel as it flows through the ditch. The sediment gradually builds up over time and slows the water flow through the French drain. It could even block it up completely. When this happens, the water can no longer pass correctly through the drain and causes homes and other property areas to flood.
Another way of telling if your French drain is working effectively is to call in a professional to inspect it. They can let you know if there's any buildup that could turn into a clog.
Advantages of French Drains
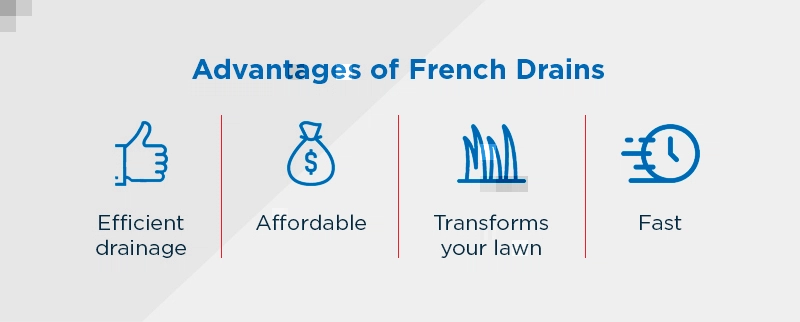
A French drain can be a blessing for your land or home. They have several advantages.
- Efficient drainage: A significant benefit of a French drain is its ability to move water away from your home or foundation. You can choose where you want the water to go with either an interior or exterior French drain system. Whether you opt to send the water to a sump pump, your septic tank, or as part of a French drain system combo, a French drain helps keep your basement dry to prevent potential foundation water damage.
- Affordable: A French drain is surprisingly affordable when you compare it with other basement waterproofing techniques.
- Transforms your lawn: You can change what would otherwise be a damp, spongy lawn into a garden or a play area for your children.
- Fast: Installing a French drain isn't complicated, and the installation process is relatively quick, depending on the complexity and size of the French drain you require.
Disadvantages of French Drains
While there are several benefits of French drains, there are also some disadvantages of French drains you may want to consider before installing one. Some downsides include:
1. Difficulty of Installation
It takes a lot of know-how to install a French drainpipe underground, and there are several safety concerns. You need to consider factors like:
- Water lines
- Gas lines
- Other underground utilities
Installation might involve temporary removal of structures like sidewalks and porches, and it could be dangerous work. Because of this, it is probably a good idea to let a professional handle the installation.
2. External Pipe Clogs
Even an above-ground French pipe can become clogged more frequently than one buried underground. When the pipe clogs, you could unexpectedly wind up with a flooded basement.
3. Mud-Related Clogging
There could be soil erosion causing muddy water to enter the French drain, which can cause it to clog. While you need to bury the drain deep enough, the groundwater passing through it can contain sediment that can build up. And, while at first the amount of this sediment won't be too much, over time it can clog the drain.
What Does a French Drain Cost?
You usually install a sump pump in the basement with an interior French drain to prevent or fix flooding. These types of drains are deeper in the ground. When a contractor handles the installation process, it's labor-intensive, requiring the digging of a large moat around the foundation of your building. You're looking at paying around $50 to $60 per linear foot.
If you have a 20' x 30' basement, that's a perimeter of 100 linear feet, meaning the entire installed cost could be around $5,000 to $6,000. If your basement perimeter is less than 130 to 150 linear feet and only requires a single sump pump, you may pay around $175 to $225. A bigger basement usually requires two sump pumps.
A professional can install an exterior French drain around two to three feet underground so it can move surface water away from your home and property. The drain length will depend on how far away you would like the water released. On average, an exterior "surface" French drain will cost between $10 to $15 per linear foot for all labor and parts, and therefore, you're looking at paying approximately $1,000 to $1,500.
How to Install French Drains
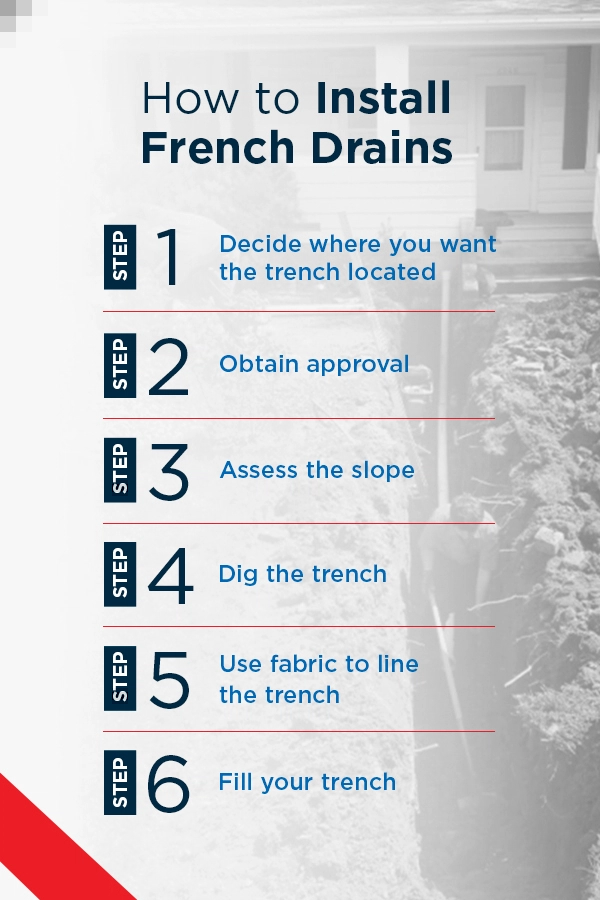
You can save yourself some money by installing the French drain yourself. Below are the steps you need to take to install your French drain.
What You'll Need
First, you'll need to gather your tools, equipment, and materials.
Tools and equipment include:
- Line level
- Hammer
- Digging shovel
- Mason's line
- Square spade
- Bow rake
- Tape measure
- Utility knife
Materials include:
- Landscape fabric staples
- Landscape fabric
- Wood stakes
- Crushed granite
Now you're ready to start the installation.
Here are the step-by-step French drain installation instructions.
Step 1: Decide Where You Want the Trench Located
Evaluate the areas of your yard that are prone to flooding to determine a general route and location for the French drain. You'll want to decide where you want the water to flow and confirm the trench's drainage end or exit is in an ideal location.
Step 2: Obtain Approval
Ensure your yard drainage won't negatively affect any public areas or anyone else's land, as this could cause legal issues. Ensure your plans comply with local law by checking with the building authority of your city.
Step 3: Assess the Slope
You need to slope the French drain to carry the water down to the desired spot. You should go with at least a 1% slope, which is a one-foot drop for every 100 feet in length.
If your yard has a steeper natural slope, this is OK, but the steepness increases the speed of the water, potentially leading to more erosion in the area the water exits.
Drive a stake at the starting point and ending point of your planned trench route to check the natural slope. Next, you'll:
- Use a mason's line to tightly tie on one stake.
- Run the line over to another stake where you'll loosely tie it off.
- Take your line level and attach it to the line.
- Untie the line's loose end.
- Pull the line tight.
- Adjust the line so it's level.
- Tie the line to its stake securely.
Then, at regular intervals — around every four feet — measure straight down to the ground from the line to see the way the slope changes. If needed, adjust the trench's depth until you reach the desired slope.
Step 4: Dig the Trench
Now, if it's necessary, you'll reset the level line and stakes so the line will run down the center of the trench you'll dig. Using a square garden spade, cut a line through the sod, ensuring it's straight, three inches to one side of the line to start digging your trench. On the other side, you'll repeat the same process three inches from the line to create a six-inch-wide trench. Remove the sod and start digging, creating a sloped bottom and vertical sides. Your trench can be as deep as you want it. As you work, compact and smooth the trench's bottom.
Step 5: Use Fabric to Line the Trench
Use landscape fabric to line the trench, using a continuous swath, if you can. If you can't, overlap fabric pieces by a minimum of 12 inches, and use fabric staples you'll drive into the ground with a hammer to secure the ends. Use the staples to secure both fabric ends. If there's excess fabric, fold it back to both sides of the trench, which you'll trim later on to fit it.
Step 6: Fill Your Trench
Use coarse drainage gravel like crushed granite to fill the trench, so it's flush with the surrounding sod or ground. Begin raking the top of the gravel to make it smooth and even it out with the top of your trench. Use a utility knife to trim the extra fabric along the edges.
How to Unclog a French Drain
To keep dirt from building up in the pipe which will prevent water from flowing in and out, you need to clean the French drain. A clogged interior French drain can result in water in your basement. If you have a clogged exterior drain, water will start backing up and won't drain properly out of your yard. If there is a clog, you'll need to know the steps to fix it.
Step 1: Locate the end of the French drain. You'll see a hole in the ground where the French drain end begins. If you're uncertain where the drain starts, try looking at the highest point of your yard, since the design of the French drain is to help water run downhill.
Step 2: Use a garden hose to run water down the French drain. If you notice the water backing up instead of running straight through, it's clogged.
Step 3: Use a pressure washer to unclog the drain, which will use high pressure to send water down the drain. When you do this, stand to the side, because the water could end up coming back out at you once it hits the clog. Aim for the high-pressure water at the bottom of the French drain to eject the clog. Moving the spray around, clean all sides of the pipe.
Step 4: Use a sewer snake for stubborn clogs. A snake is a long piece of piping you will stick down the French drain to reach the clog. Gently push the clog with the snake to try and free it up. If it breaks free or even feels looser, switch back to using the pressure washer to be sure you break up and dissipate the entire clog down the drain. You'll continue using both the pressure washer and sewer snake until you see the water flowing freely down the drain.
French Drain Maintenance
Fortunately, there's not much regular maintenance needed for a French drain to function. However, over time, debris and leaves can build up in the drainpipe's holes, compromising its effectiveness. To prevent this, clean out and snake the French drain once a year.
Whether you're performing interior French drain maintenance, basement French drain cleanout, or exterior French drain maintenance, you'll need an electric sewer snake. You can easily rent one if you don't want to buy it. You can find them for rent at hardware stores, home improvement centers, and tool rental facilities.
Snaking the Drain
Here are the steps to snake and clean a French drain.
- Before you begin, put on some tough leather gloves. The gloves help protect your hands from becoming torn up as you feed the snake's cable into the drain.
- Uncover the drain's lid. If the French drain is attached to a gutter downspout, you'll have to remove the downspout from the drain's entry point.
- Turn the snake on and feed its cable into the French drain.
- When the snake cable hits an obstruction or a turn in the drain, hold it back as the snake is turning in the pipe. Once it overcomes the turn in the drain or obstruction, feed it forward gently into the drain.
- Continue feeding the cable into the drain until it gets to the other side. Allow the snake to turn inside the drain when it hits resistance from tree roots, clogs, and other obstructions.
- When finished, retract the snake and feed it back into the device.
- Using a hose in power jet mode, spray water into the drain using a garden hose to push out debris or other obstructions.
Contact Mr. Rooter of Greater Syracuse for New York Plumbing Services
Now that you know everything you need to know about French drains, you can make an informed decision about installation, maintenance, and cleaning. Remember, if your French drain is underground, you still will need to have a professional inspection every two years. The same goes for an interior French drain. Proactive maintenance will prevent clogs and other unwanted disasters like a soggy yard or flooded basement.
If it's been more than a couple of years since you've had the drainage of your greater Syracuse home inspected, schedule a French drain inspection appointment with Mr. Rooter. We offer installation, cleaning, repair, and maintenance of French drains. Call us or request a job estimate via our online form.

