A Comprehensive Guide to DIY Plumbing
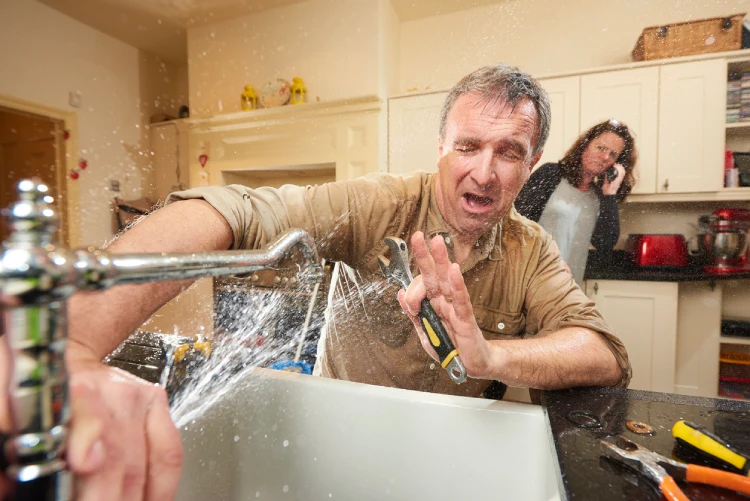
The mere mention of a plumbing problem can send shivers down any homeowner's spine. Be it a leaky faucet or a clogged drain, the fear of a disastrous DIY job often outweighs the prospect of an easy solution. However, with a little know-how and the right tools, many common plumbing issues can be resolved without calling a professional.
In this detailed guide, Mr. Rooter Plumbing of Southeast Georgia will walk you through the steps you need to take to tackle frequent plumbing problems in homes and ensure you're back on track swiftly when minor issues arise.
The Homeowner’s Essential Toolkit: What You Need
The key to plumbing repairs lies not only in technique but also in the tools at your disposal. This section will guide you through the essential toolkit you should have on hand to address plumbing concerns confidently.
Pipe Wrench
A sturdy pipe wrench is the cornerstone of your plumbing toolkit. Designed to turn threaded pipe and pipe fittings, it's an indispensable partner in tasks that involve the tightening and loosening these elements. Remember: righty-tighty, lefty-loosey.
Plunger
The plunger is synonymous with plumbing issues and for a good reason. This simple tool effectively creates pressure to dislodge blockages in toilets, sinks, and drains. Having the right plunger for the right job is crucial, so ensure you have a cup plunger for sinks and a flange plunger for toilets.
Adjustable Wrench
Also known as a crescent wrench, this tool will be your go-to for loosening and tightening nuts under sinks and around pipes. Its adjustable jaw allows it to fit various sizes of nuts and bolts—a crucial feature for plumbing needs.
Hacksaw
In plumbing, the ability to cut pipes is an essential skill. With its fine-toothed blade, a hacksaw will allow you to cut pipes cleanly and precisely for repairs and installations.
With these tools in your arsenal, you can handle most plumbing projects. However, always keep safety in mind. Consider wearing gloves and eye protection, and ensure you know the location of your home's main water shut-off valve before beginning any work.
Fixing a Leaky Faucet? A Step-by-Step Guide
A leaky faucet is annoying and can also lead to significant water waste and increased bills. Luckily, you can often fix this problem with a few simple steps.
Step 1: Turn Off the Water Supply
Before getting started, turn off the water supply to the affected faucet. In most cases, there is a shut-off valve located under the sink.
Step 2: Disassemble the Faucet
Remove decorative parts of the handle knobs, screws, and faucet handles to expose the inner workings. Be sure to lay the parts out in the order you remove them to make reassembly easier.
Step 3: Examine the Parts
Check the condition of the valve seat, O-ring, and washers. If they are worn or damaged, this is likely the cause of your leak.
Step 4: Replace the Faulty Parts
Purchase a replacement kit that matches your faucet model. Replacing washers, O-rings, or the valve seat can often solve the problem. Clean all parts thoroughly before reassembling the faucet.
Step 5: Turn the Water Back On
Once everything is back in place, turn the water supply back on and check for leaks. If the faucet is still leaking, you may need to replace the entire fixture, which could be a more involved process and may require the skills of a professional.
Dealing with a Clogged Sink? Simple and Effective Solutions
A clogged sink can put a major damper on your daily routine. However, you can often clear the clog quickly and easily with the right approach.
Step 1: Examine the Drain
Take a moment to assess the situation. A slow drain is often the precursor to a complete blockage, so it's best to address the issue at the first sign of trouble.
Step 2: Use a Plunger
For simple clogs, apply the plunger directly over the drain and plunge up and down forcefully several times. This should dislodge the blockage and allow water to flow freely again.
Step 3: Try a Drain Snake
If the plunger doesn't work, it's time to bring in the drain snake. A flexible auger with a long metal wire, this tool can reach deep into the pipes to break up and remove the obstruction.
Step 4: Flush with Hot Water
After using the snake, run hot water down the drain to help clear away any remaining debris and test the efficiency of your unclogging efforts.
Step 5: Use a Chemical Cleaner
A chemical drain cleaner may be necessary if the blockage is more severe. These powerful products can dissolve organic matter and other materials, causing obstruction. However, they should be used cautiously and are best reserved as a last resort.
Ensuring Safety and Success
While some plumbing projects are straightforward, it's wise to remember that water and electricity can be a dangerous combination. Failure to address a plumbing problem correctly can lead to extensive water damage or health hazards due to mold growth and waterborne pathogens.
Know Your Limits
If a DIY plumbing project seems too daunting, complex, or dangerous, don't hesitate to call a professional. It's better to be safe than sorry, and the experienced plumbers at Mr. Rooter Plumbing of Southeast Georgia are always ready to provide peace of mind that the job is done right.
Maintain and Inspect Regularly
Prevention is always better than a cure. Regularly inspect your home's plumbing for signs of wear and tear and maintain it properly. This includes checking for leaky pipes, maintaining proper water pressure, and never flushing anything down the toilet that isn't supposed to go there.
The Upsides of DIY Plumbing
By empowering yourself to handle common plumbing problems, you can save money and gain valuable skills for home maintenance endeavors. Start with small tasks and gradually work your way up—before you know it, you'll be an amateur plumber ready to face small-stakes challenges head-on.
If you're ready to roll up your sleeves and get to work on your home's plumbing, take these guidelines to heart. The satisfaction of a successful DIY repair is unmatched, and the confidence it brings is immeasurable. But above all, remember to stay cautious, stay informed, and never hesitate to seek professional help when needed.
The DIY Plumbing Protocol: When In Doubt, Call A Pro
Remember, with the right tools and a bit of knowledge, DIY plumbing can be simple and satisfying. Always turn off the water before starting work, keep the main shutoff valve easily accessible, and don't be afraid to call Mr. Rooter Plumbing of Southeast Georgia if you're in over your head.
Our plumbing experts are backed by years of experience, training, and industry-best resources. We have the knowledge and tools to avoid costly mistakes. As satisfying as a successful DIY plumbing job may be, a small error can quickly become an expensive nightmare. In most scenarios, it is wise to avoid the risks and rely on a seasoned professional with industry-grade equipment, proven techniques, and expertise.
Need plumbing assistance? Call today!

