Shopping for toilets can be an eye-opening experience. Who knew porcelain thrones came with so many options?
Learn moreOur Plumbing Blog
Shared Resources for Your Home Needs
All Blogs
If you’re constantly dealing with clogged drains that don’t seem to stay clear for very long, it might be time to consider a drain snake, also known as a plumber’s auger.
Learn moreWe load our dishwashers with dirty dishes, expecting them to come out sparkling clean.
Learn moreThere may come a time when you want to learn how to change a shower head to benefit from more efficiency,
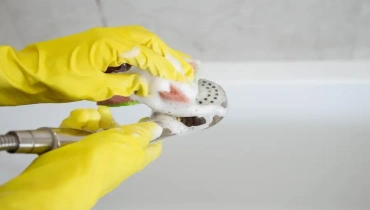
Learn moreWhen was the last time you cleaned your shower head? If the answer is ‘never’ or ‘not for a long time,’ then now is the right time to make it your priority.
Learn moreFreezing pipes are a common reality for many homeowners in the heart of winter. All it takes is for the mercury to plummet, and poorly or uninsulated pipes can freeze with water inside them.
Learn moreLet Us Call You
Blog Categories
About Mr. Rooter Plumbing

Since the original Mr. Rooter was founded in 1970, the company has remained committed to a set of core values that are rooted in performing quality work at honest prices. Nearly half a century later, the original Mr. Rooter business is still servicing homes and businesses in and around Oklahoma City. It’s still independently owned and operated with strong ties to the community that made it all possible.
