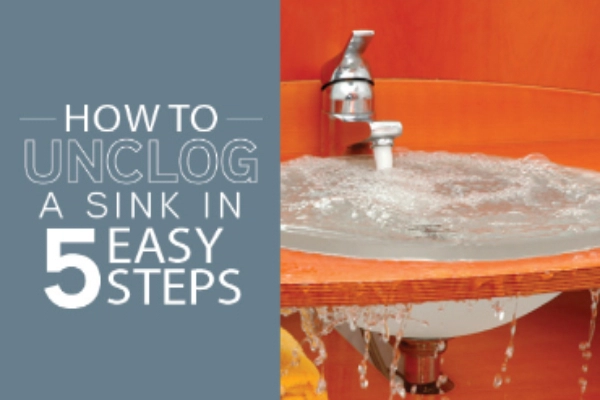
Mr. Rooter Plumbing shares a simple guide to unclog your sink in five steps.
|
Picture this: you wake up groggy and shuffle into the bathroom. You turn on the faucet to wash your face and brush your teeth, but it doesn’t take long before you realize the bathroom sink won’t drain.
The bubbling, backed-up sink could be enough to ruin your day – but it doesn’t have to! With this guide and just a few minutes of your time, you can get the clogged bathroom sink flowing again—no chemicals or professional plumbers are required. Just follow these five steps.
Step 1. Disconnect the Stopper
The most likely cause of a sink clog is debris collecting on your stopper. But before you can clean it, you must first disconnect it.
Go under the sink and look for a metal strip with holes in it. Unscrew the pivot nut connecting this metal strip to the drain pipe. Pull the rod out of the pop-up assembly to disconnect it from the stopper.
Step 2. Remove and Clean the Stopper
Make sure to put on cleaning gloves before you remove the stopper (what you find in sink clogs is rarely pretty and never sterile). Lift the stopper out of the drain and remove any material stuck to the stopper. You may want to hold your breath for this part. To remove any gunk, wipe the stopper with a damp paper towel and dump the mess into a trash can.
Step 3. Snake the Drain
While a muck-covered stopper is a likely reason for a clogged bathroom sink, you should also use a hand snake on the drain for good measure. Hardware stores carry this handy little tool at a very low price.
While the stopper is removed, insert the snake into the drain and crank the handle to spin the head around inside the pipe. This allows it to grab onto any obstructions in its path, including soap scum, hair, dirt, and other debris. Brace yourself, because when you pull the snake out of the drain, it will undoubtedly be covered in grime.
Dump the debris in the trash and snake the drain again. Repeat this process until the snake comes out relatively clean.
Step 4. Reinstall the Stopper
Set the stopper back in the drain, and then go under the sink and reconnect the pivot nut to the metal strip with holes. Test the stopper by pulling up the metal rod behind the faucet, which is the top portion of the metal strip with holes.
Once you’re sure the stopper is functioning correctly, open the drain all the way and turn on the faucet to see if the water flows now. If it does, you’re back in business! If the bathroom sink still won’t drain, there’s one more thing you can try before calling a plumber.
Step 5. Check the P-Trap
The p-trap is the elbow-shaped section of plumbing. Your hand snake might not have been able to clear gunk from the trap, so it’s time to take a look inside.
Place a bucket beneath the p-trap and unscrew the connectors holding the pipe in place with a wrench. Dump out the water and muck from the p-trap into your trusty bucket. If needed, wipe out the inside of the pipe to remove stuck-on debris.
Reattach the p-trap, cross your fingers, and turn on the faucet. The water should flow beautifully now! However, if the clog is located deeper down the line and the bathroom sink still won’t drain, you need help from a plumber.
Call Mr. Rooter® Plumbing to Quickly Unclog Your Bathroom Sink
It’s easy to feel desperate when the bathroom sink won’t drain despite your best efforts to unclog it. Fortunately, Mr. Rooter Plumbing can handle even the toughest clogged drains.
For help clearing your clogged bathroom sink, please contact us today.

