Mr. Rooter Plumbing explains how to fix a dripping faucet.
|
A faucet that drips once per second can waste nearly 17 gallons of water per day — that’s over 6,000 gallons of water per year. That’s a significant waste, not to mention money down the drain.
If you don’t want to waste any more water (and money) from a leaking faucet, our article covers how to fix a dripping faucet and tips to ensure it goes smoothly. This is typically a simple DIY home plumbing repair, but if you need additional assistance, don’t hesitate to contact Mr. Rooter Plumbing for help with leaky faucet repair.
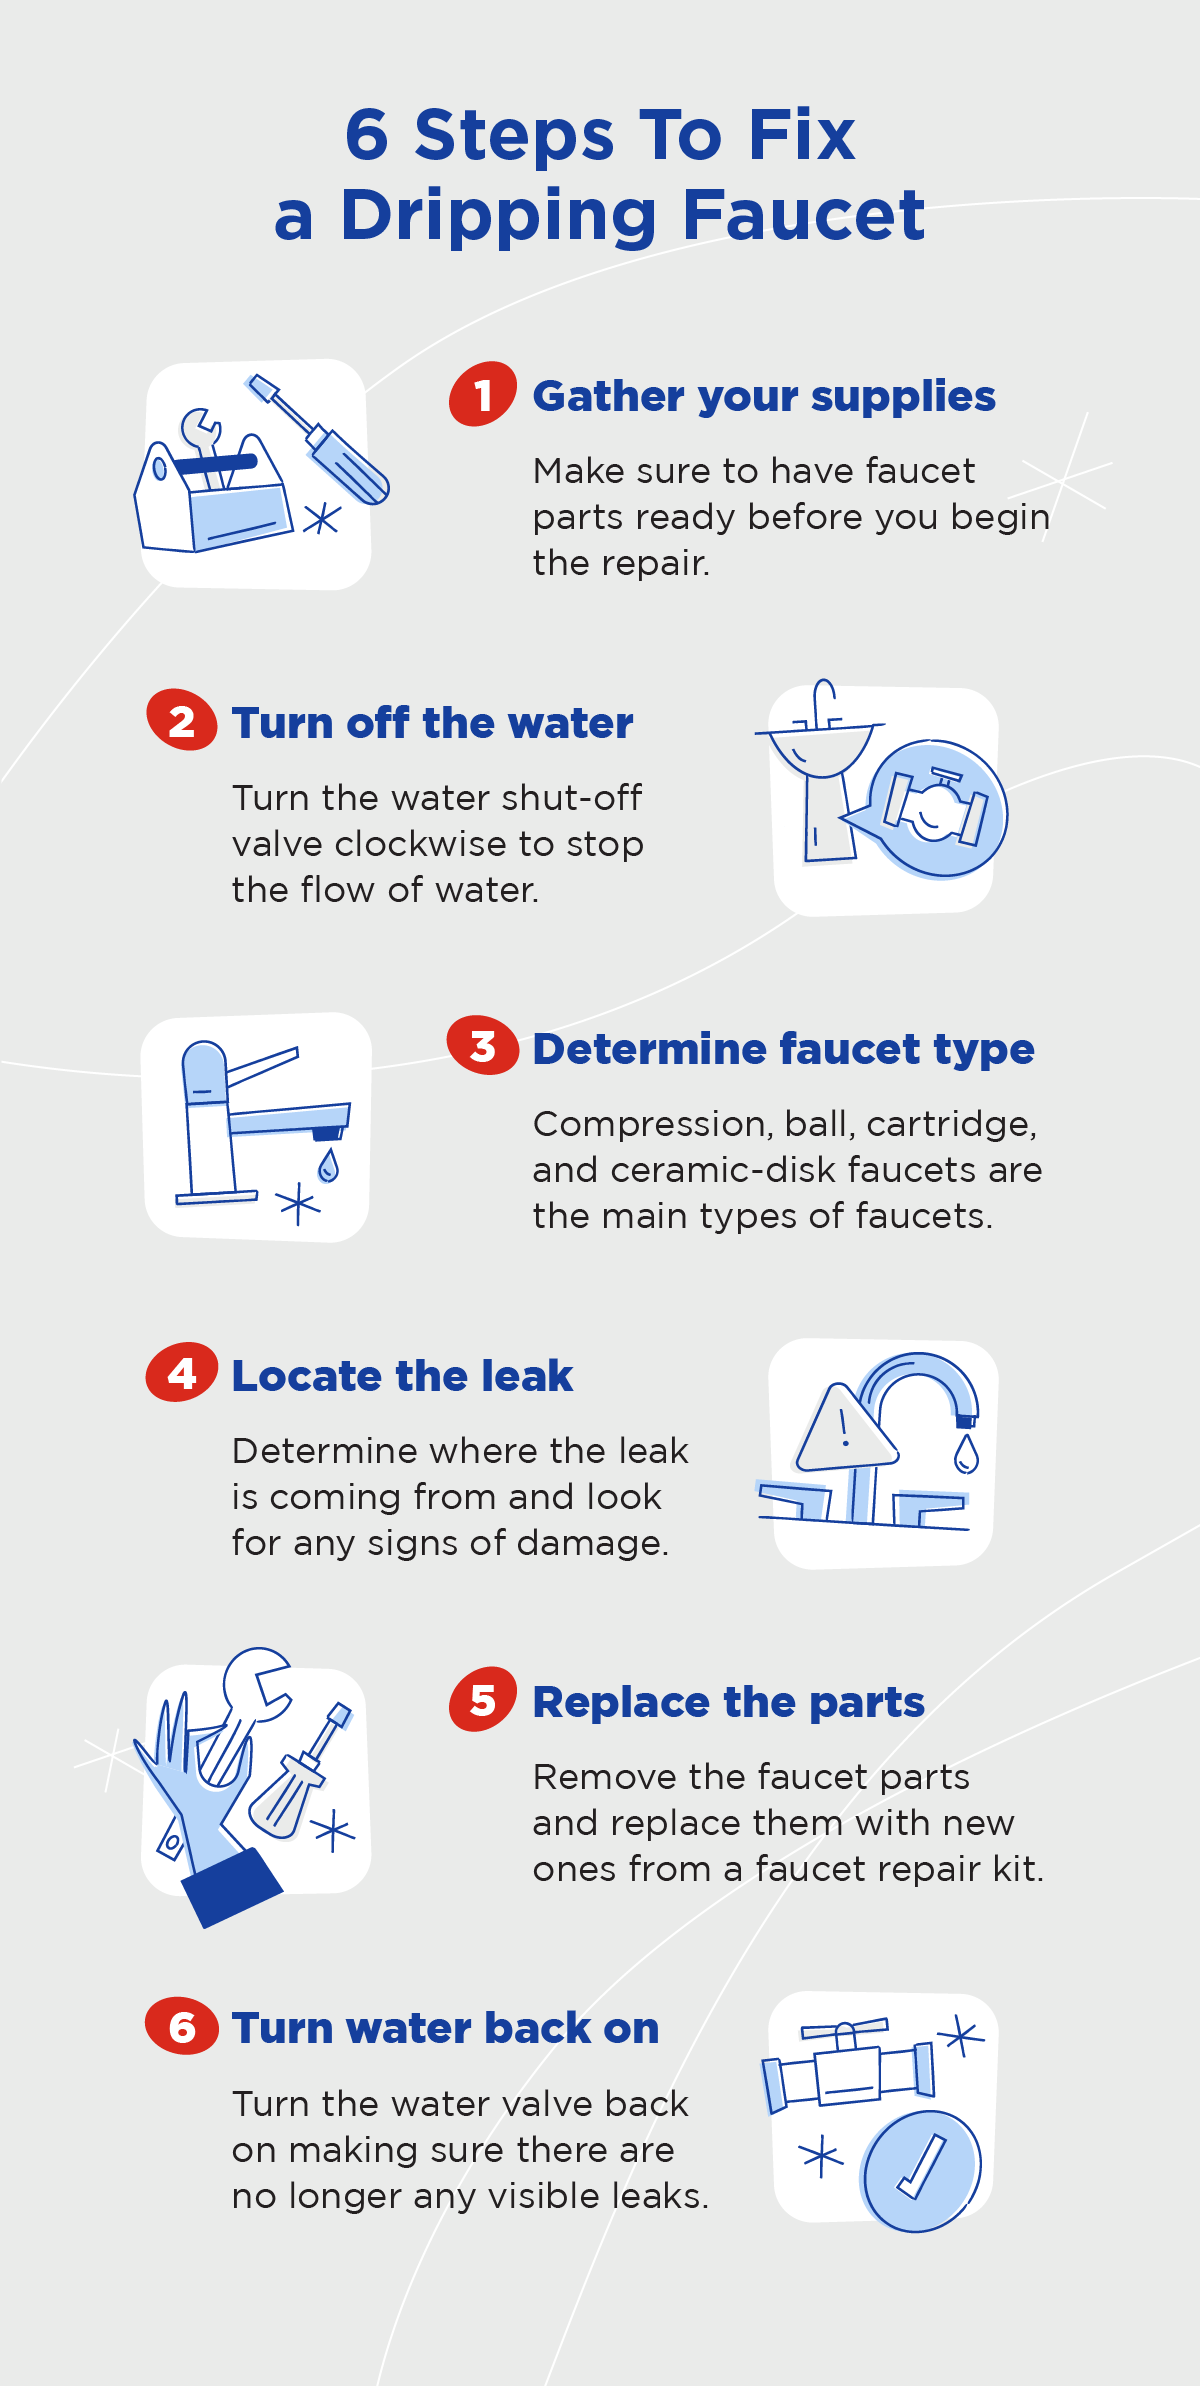
1. Gather Your Supplies
First, gather some basic supplies to fix a dripping faucet. Here’s what you’ll need:
- Phillips screwdriver
- Flathead screwdriver (a handy prying tool)
- Wrench
- Pliers
- Penetrating oil (WD-40 or CRC)
- Plumber’s grease
- Replacement O-rings and other parts for your specific faucet
Faucet repair kits are also available at most hardware stores and include all of the parts needed to repair your type of faucet.
2. Turn Off the Water
Next, locate the water shut-off valve under the sink and turn the knob clockwise to stop the flow of water. Once you shut the water off, run the faucet to remove any remaining water.
If the water is still running once you’ve turned the valve off, turn off the main water shut-off valve. The main valve is typically located on a wall near the front of your home but may be in the garage or near your water heater.
You should also make sure to block the drain with the built-in stopper or a plug to prevent small parts — like screws or washers — from getting lost down the drain.
3. Determine Your Faucet Type
Fixing a dripping faucet can look different depending on the type of faucet you have. Knowing what type of faucet you have can ensure you have the correct replacement parts to do the job right. If you’re unsure, you may need to disassemble the faucet to determine which one you have.
The different types of faucets include:
- Compression faucets: These faucets have two handles or knobs, making them the easiest to spot by sight. They have a flexible compression washer that usually needs replacement after some time.
- Ball faucets: You will typically find these faucets in the kitchen sink. They have one handle and contain a ball bearing that controls the water pressure and temperature.
- Cartridge faucets: These single-handle faucets typically have a decorative cap on the handle and feature a cartridge that controls the water.
- Ceramic-disk faucets: These faucets also feature a single handle and contain a ceramic cylinder that controls the water flow and temperature.
4. Locate the Leak
Next, locate the source of the leak. You’ll usually find the water leaking from the faucet handle or the spout. Leaks are generally caused by worn-down or damaged washers and O-rings, loose parts, or water pressure problems. After removing the handle, check the parts for signs of damage like calcium build-up, scratches, cracks, and corrosion.
5. Disassemble and Replace Parts
Once you identify the leak and find any damaged or loose parts, disassemble the faucet and replace the parts with new ones if needed. Then, put the faucet back together. This process can look different depending on the source of the leak and the type of faucet.
Here’s a quick rundown of how to fix a leaking faucet, depending on the type.
Fixing a leaky compression faucet
If the handles of your compression faucet are leaking, you can usually fix the problem with a simple O-ring replacement. To do this, pry the decorative cap off the handles and remove the stem to expose the O-ring. Replace this with a new O-ring and repeat on the other handle if needed.
If you notice a damaged or worn down washer, remove the washer screw and rubber washer and replace them with new ones. It may be best to purchase a compression faucet repair kit, as it comes with different sizes of washers, so you can find one that best fits your faucet.
Fixing a leaky ball faucet
Start by removing the handle and cap, then remove the faucet cam, washer, and ball. Then, locate the seats and springs and remove them with your pliers. Once you’ve removed all the parts, install your new seats and springs and replace the ball.
If your faucet is leaking at the base of the spout, remove the O-ring and replace it with a new one. You can find all of these parts in a ball faucet repair kit.
Fixing a leaky cartridge faucet
First, unscrew and remove the faucet handle. Then, use pliers to unscrew the retainer nut that holds the cartridge into place. Once loose, pull out the sink cartridge. Then, replace the old cartridge with a new one, ensuring it’s sealed tight.
Fixing a leaky ceramic disk faucet
Remove the escutcheon cap and faucet handle, unscrew the cylinder, and lift it. Remove the neoprene seals and assess them for signs of damage. If the seals have damage, replace them with new ones and reassemble the faucet.
6. Turn the water on
Once you reassemble the parts, turn the water shut-off valve back on and allow the water to flow slowly through the faucet for a few minutes. Then, turn the faucet on and check for any leaks.
Always contact a professional faucet or sink repair service provider if the job becomes too complex or your faucet is still dripping after you’ve followed the steps outlined above.
Additional Tips for Fixing a Dripping Faucet
While fixing a dripping faucet may seem straightforward, here are a few additional tips to help ensure a smooth repair process.
- Wrap your wrench with a cloth: When you use your screwdriver and wrench to remove parts, avoid scratching the finish. You may want to wrap the wrench with a cloth to protect your faucet from damage.
- Apply oil to faucet stems: If the handle stem of your compression faucet is difficult to pry out, apply penetrating oil, such as WD-40, to loosen it so you can remove it more easily.
- Soak parts that have mineral buildup: Soak any items coated with calcium buildup in a bowl of white vinegar for several hours. This will loosen the scaling and allow you to assess whether or not you can reuse the parts. If not, you may need to replace the parts or buy a new faucet.
- Take photos of the parts: Most kitchen and bathroom faucets feature several small components that may be unfamiliar to you. Take pictures as you go, laying out the parts on a towel in the order you removed them to make reassembly easier.
Contact Mr. Rooter Plumbing to Help Fix a Dripping Faucet
You may encounter unforeseen problems while trying to fix a dripping faucet, or it might still drip even after completing all the required steps. If this is the case, give Mr. Rooter Plumbing a call. We’ll send a service professional to your home for a reliable and affordable faucet repair.
Request a job estimate online or give us a call to see how we can help.
Dripping Faucet FAQs
Below, we’ll cover answers to some common questions about fixing a dripping faucet.
What is the most common cause of dripping faucets?
Some of the most common causes of a dripping faucet are:
- Worn down O-rings, washers, or cartridges
- Loose parts
- Broken parts
- Corrosion on the valve seat
- Water pressure problems
Can a leaky faucet fix itself?
A leaking faucet will not fix itself, but simple leaks are typically easy to fix on your own. Contact a professional plumbing service for additional assistance, as they can help assess any damage and determine if you need to repair or replace your faucet.
Why should a leaking tap be repaired immediately?
Leaking faucet taps can waste a lot of water if not repaired immediately, leading to an increased water bill. They can also cause water damage if gone unnoticed without repair, which can cause mold down the line. Inspect your sink and faucet often for signs of leaks, like puddles of water, corrosion, foul odors, mold, and a sudden increase in your water bill.

