Trap primers are typically installed on drains in areas that see little regular water flow, such as basement and garage floor drains, mechanical rooms, laundry rooms, and seasonal or vacation homes. By keeping these traps full, they prevent sewer gases from entering your space.
Like any plumbing component, you want to be sure it’s working at its best. Experience peace of mind that you won’t end up with a dry drain trap by taking these steps to perform DIY drain trap primer checks.
1. Perform a Visual Check
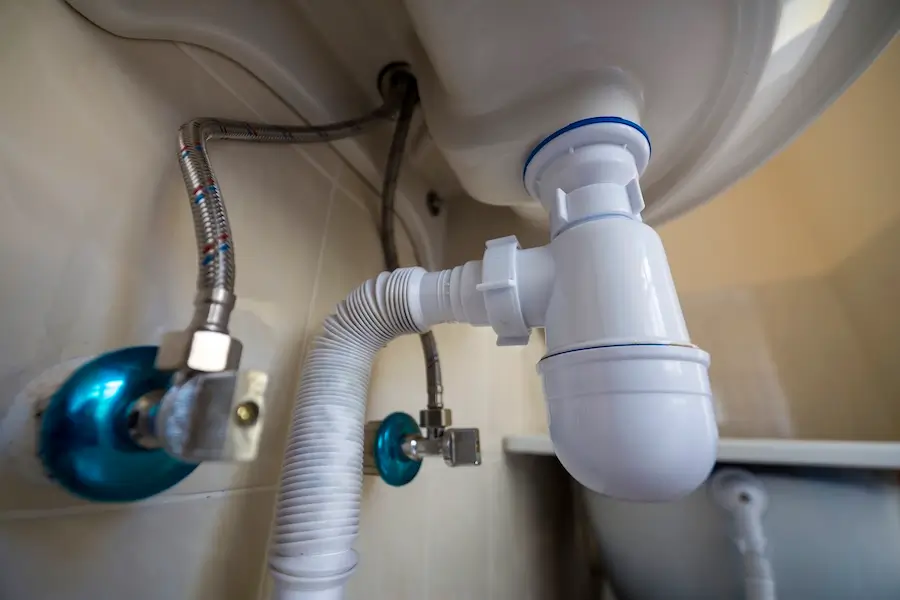
Whether you suspect an issue with your plumbing drain trap primer or simply want to make sure it’s in good working order, start with a visual check. This involves ensuring the plumbing trap primer is installed correctly and connected to the cold water supply line.
Check that the primer is mounted at least 12 inches above the flood level of the drain and that it’s connected to the drain line upstream of the trap. The drain line should have a continuous slope to the drain.
2. Test the Plumbing Trap Primer
P-traps in plumbing can dry out, causing hydrogen sulfide, carbon dioxide, and other sewer gases to enter your property. Ensure your plumbing drain trap primer is up for the job of preventing that by testing it out.
Activate the plumbing fixture it’s attached to. For example, if it’s connected to a sink, run the faucet. As you do so, pay attention to the drain trap. If it’s working, you should see water discharged into it.
3. Inspect the Valves
Inspect the primer’s valves for drips and leaks. If you spot any, tighten any loose connections. If the leaks persist, you may need to replace those valves.
4. Clean Away Debris
Debris has the potential to enter trap primers through the water supply line. It’s particularly common in continuous flow trap primers that don’t have a way to screen out foreign particles. If the debris isn’t cleared away, it can clog the primer outlet and stop it from functioning properly. Check the primer’s outlet every 3-6 months and clear any dirt or scale to ensure there’s a clear path for water to get through.
Signs of a Failing Trap Primer
Even the most high-quality plumbing components don’t last forever, and plumbing trap primers are no exception. There may come a time when you realize that your trap primer is failing or is already no longer working. Many signs indicate that it’s time to replace it:
- Sewer smells: Sewer smells from your drains are the most common sign of a failing trap primer, especially if that drain is rarely used. Sewage-like odors indicate a dry water seal, which is allowing sewer gases to escape.
- Dry trap: Your plumbing drain trap shouldn’t be dry if your trap primer is working correctly. Pour water down the drain, and if the trap quickly dries out, the trap primer isn’t delivering water to it.
- Restricted or no water flow: If the trap primer isn’t sending water to the trap, you may have a faulty valve, a blocked inlet, or low water pressure. Investigate each cause.
- Inconsistent water flow: Your plumbing trap primer may be dispensing too much or not enough water, or experiencing an inconsistent flow, which can result in an improperly maintained water seal.
- Leaking primer: If you notice puddles of water or wet spots around the trap primer, it might have a leaky valve or connections.
- Gurgling drains: If you hear gurgling or bubbling sounds from the drain while other fixtures are in use, you likely have a dry drain trap or an issue with the venting system.
Do I Need a Plumbing Trap Primer?
Most homeowners won’t need a plumbing trap primer for their everyday plumbing systems. There is little chance of sewer gases entering your home through the fixtures you use every day. However, they are required for floor drains, trench drains, and fixtures that aren’t used regularly. Plumbing codes can also mandate their use when specific drains are installed, particularly those in industrial and commercial settings.
There are several common types of plumbing drain trap primers:
- Continuous flow: They drip water into the plumbing trap to maintain the seal
- Pressure drop-activated: They release water when they detect a change in pressure in the water supply line
- Flush valve-operated: They are connected to flush valves and release water when the valve is activated
- Electronic: They release water when an electronic sensor or timer is activated
- Manual: You must manually add water to the trap
Why Do Dry Drains Smell?
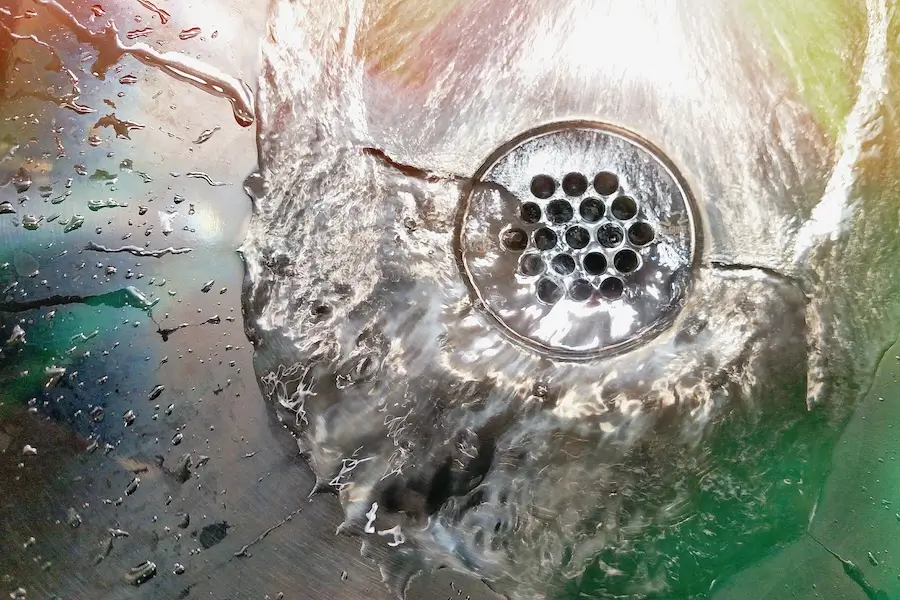
It’s typically easy to tell which properties don’t have plumbing trap primers when you enter them after being vacant or infrequently used. They can smell like rotten eggs!
Dry drains smell because the water in the P-trap under the drain has evaporated. Sewer gases and other smells are then able to escape into the property. One of those gases is hydrogen sulfide, which has a rotten egg smell. If you notice other smells, they can be caused by bacteria buildup in your drain.
Eliminate that rotten egg odor by flushing the drain with hot water. You can also freshen up the drain by pouring half a cup of baking soda into the drain, followed by one cup of vinegar.
Contact Mr. Rooter Plumbing® for Trap Primer Checks, Repairs, and Installations
Plumbing trap primers can keep your property smelling fresh and clean by preventing sewer smells from escaping your plumbing system. If you need help inspecting, repairing, or installing a new plumbing trap primer, contact your locally owned and operated Mr. Rooter Plumbing®.
We can troubleshoot any trap primer issues and ensure your residential, commercial, and industrial plumbing systems are working as they should. Request an estimate online today!

