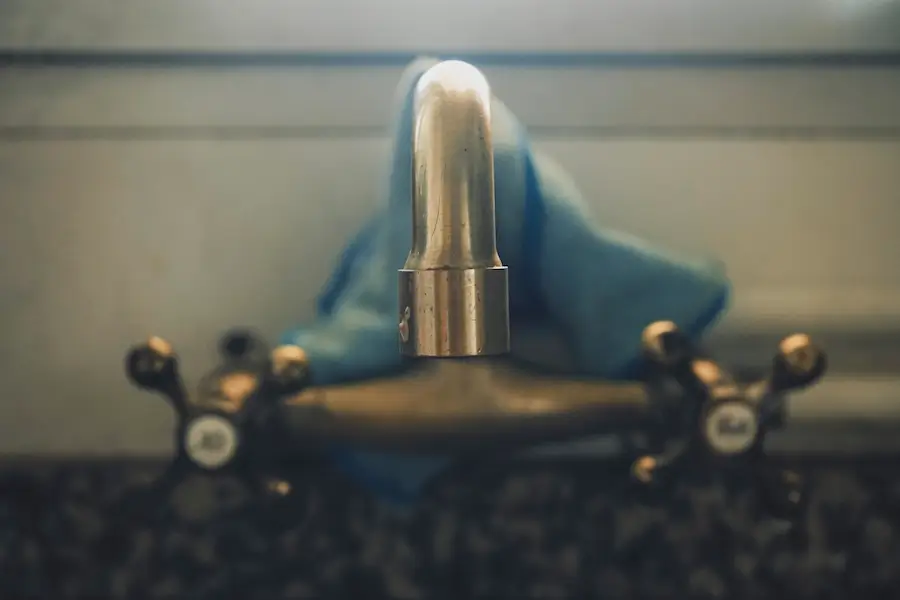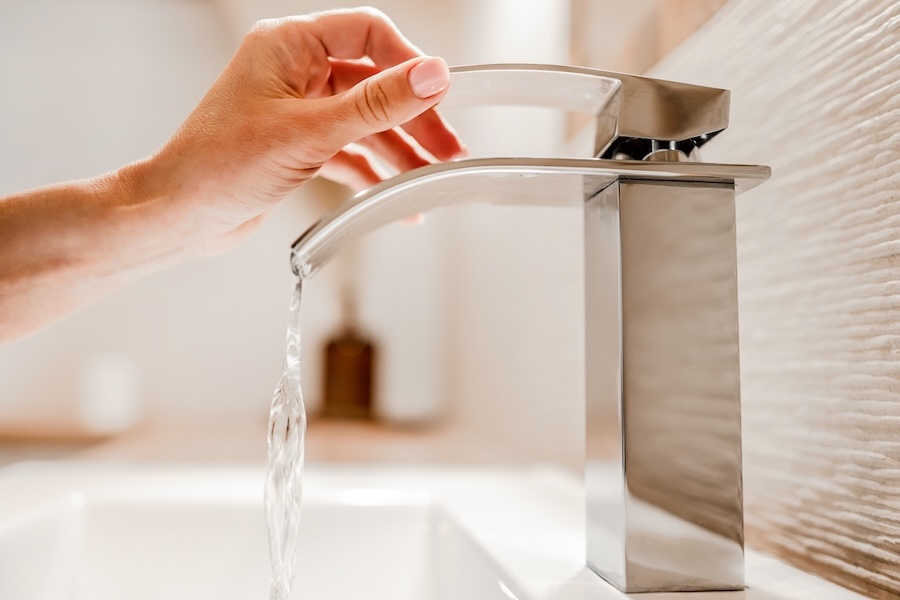
Mr. Rooter Plumbing® guides homeowners on replacing the faucet cartridges in their kitchens and bathrooms.
|
If you turn on your bathroom or kitchen faucet, only to discover that it’s leaking from around the handles or the base, something inside has gone awry! Worn cartridges are a common cause of faucet leaks.
Faucet cartridges are small plastic components that control the flow of water in one- and two-handled faucets. If you suspect a worn cartridge is the cause of your leak, you’ll be pleased to know this component is replaceable. Keep reading for a step-by-step guide on faucet cartridge replacement.
Which Type of Faucet Do I Have?
A leaking faucet doesn’t always mean a failed cartridge, as not all faucets have them. Knowing whether you’re replacing a cartridge in a faucet comes down to the type of faucet you have.
Cartridge faucets exist as one- and two-handled models. Yet, not all one- and two-handled faucets have cartridges. If you have to push the handle down to turn off the flow of water, you have a compression faucet. If turning the handle slows or turns off the water flow, you have a cartridge faucet.
If you’re still not sure, you’ll know with certainty when you pull the faucet apart and identify a faucet cartridge.
How to Install a Faucet Cartridge
When the time comes to learn how to replace a faucet cartridge, you’ll be pleased to know it can be a straightforward process. Just like replacing a shower cartridge, all you need is patience, the right tools for the job, and a small amount of DIY knowledge. As there are different faucet cartridge types and faucet styles, you will also need to ensure you purchase the correct replacement parts.
Follow the steps below to learn how to replace a faucet cartridge for single-handle and double-handle faucets:
1. Turn Off the Water
Find the shut-off valve underneath the sink and turn it off so the valve is completely closed. Once the water is off, turn the taps on full to ensure the pipes are empty before work gets underway. The water should come to a stop. When it does, turn the taps back off again. Lastly, plug the drain with a rag or a stopper to prevent any parts or debris from entering the drain.
If you’re replacing a bathtub faucet cartridge and there is no shut-off valve for it nearby, turn off the mains supply to your home.
2. Remove the Decorative Covers
Many handles include decorative covers that conceal the screws. If your handle has these covers, gently pry them off with a flathead screwdriver to access the screws.
3. Remove the Faucet Handles
Whether you’re replacing a bathtub faucet cartridge or a sink cartridge, you’ll need to remove the faucet handles to reach the cartridge. How you remove the handles can depend on your unique faucet.
For some two-handled faucet models:
- Unscrew the bonnet/retaining nut with an adjustable wrench
- Identify the white, black, or blue plastic cylinder with a stem on the top – that’s the faucet cartridge
For a one-handled cartridge faucet:
- Remove the decorative plate and unscrew the screw underneath with a hex key or Allen wrench
- Remove the handle
- Twist off the bonnet nut
- Identify the cartridge
If your faucet has two handles with screws on the top:
- Remove the screws with a screwdriver
- Set the screws aside
- Pull upwards on the handle to remove it
- Repeat steps 1-3 for the second handle
If your faucet has two angled handles:
- If your handle has screws on the side, use a 1/8-inch Allen wrench or hex key to loosen them
- Pull off the handle
- Repeat for the second angled handle
4. Remove the Faucet Cartridge
After removing the handle from your faucet, you will likely now see the cartridge – a small plastic cylinder with a stem on the top and notches in its side.
- Pull out the cartridge – if it’s firmly in place, grip the stem with pliers.
- If you can’t remove the cartridge, check the manufacturer’s instructions, as you may require a special tool.
- If you notice a brass nut on the top of the cartridge, put it somewhere safe, as the replacement faucet cartridge you purchase may not have one.
- Still can’t see or access the cartridge? You may have more parts to remove first, such as a retaining nut and clip.
5. Remove the Retaining Nut
If you haven’t been able to remove the cartridge after removing the handle, there may be a retaining nut at the base of the handle. Check the bottom of the fitting. You can remove this nut with adjustable pliers, a pipe wrench, or water pump pliers. After removing the nut, the cartridge should lift straight up.
Is it still not budging? Check for a retaining clip that could be holding it in place. This brass horseshoe-shaped clip should pull straight out with needle-nose pliers.
6. Remove Springs and O-Rings
There’s more to replacing a kitchen or bathroom faucet cartridge than simply installing a new cartridge. You also often need to remove and replace the springs and O-rings. Worn o-rings are just as commonly responsible for faucet leaks as cartridges.
Once you’ve removed the cartridge, inspect the faucet to locate a round rubber O-ring and/or a spring. Use a screwdriver to fish out the O-ring. If it won’t come out, cut it with a knife. Remove the spring, if there is one.
Finally, clean out debris from the tap housing with a soft cloth and soak up excess water in the handle with another cloth.
7. Replace the Faucet Cartridge
It’s now time to replace the cartridge! As you’ve removed all the components from the faucet that you’ll need to replace, it’s helpful to take these to your local hardware or plumbing store to find replacements. Springs, O-rings, and cartridges can differ from one faucet model to the next. The faucet manufacturer and model number should match the parts you buy.
Now, all that’s left is to install the new part. Simply follow the previous steps in reverse, keeping the following tips in mind:
- Apply silicone grease to the new O-ring before replacing it
- Apply a small amount of plumber’s grease around the area of the cartridge as it gets inserted into the faucet
- If you have a one-handled faucet, ensure the hot and cold water sides on the cartridge match
- Ensure all notches on the cartridge align correctly in the faucet.
8. Test the Faucet

Learning how to replace a kitchen or bathroom faucet cartridge typically takes one to two hours, and it’s important to make sure everything is reassembled correctly. Turn the water valve under the sink back on, then slowly turn on each faucet one at a time to ensure it’s working as it should. Check carefully for any leaks around the handle or base.
Call Mr. Rooter Plumbing® for Help
Not everyone has time to learn how to replace a bathroom or kitchen faucet cartridge. Or, you might have tried and found it too challenging! It’s okay to leave this job to experts you trust.
Mr. Rooter Plumbing® is here to help with all your plumbing needs, including faucet or shower cartridge replacement and general plumbing services. Contact your local trusted plumbing team today, or request an estimate online.

