|
Mr. Rooter Plumbing experts provide a simple, step-by-step guide to replacing a shower head efficiently and correctly. Key insights include:
This authoritative advice ensures a smooth shower head replacement process with the right tools and techniques, enhancing bathroom plumbing functionality and user confidence. |
There may come a time when you want to learn how to change a shower head to benefit from more efficiency, comfort, or better water pressure. It can also be worth changing a shower head when it’s rusty, damaged, or leaking.
While calling a trusted plumber can be a preferred option if you’re not a DIYer or familiar with plumbing systems, shower head installation may be a task you’d like to try yourself first. Keep reading to learn how to replace a shower head—whether you're dealing with a drip, weak spray, rust, or just ready for an upgrade.
Get to Know Your Shower Head
Before you learn how to replace a shower head, you should familiarize yourself with the different parts. It can be much easier to read instructions if you know the pieces of your shower they’re referring to!
Shower Head
There are many different shower heads on the market, designed to suit various preferences and needs:
- Standard fixed – the most common type without all the bells and whistles.
- Rainfall/waterfall – fixed shower heads that provide far more coverage than standard fixed
- Handheld – they come with a detachable hose and holder.
- Dual – a combination of a handheld shower head and a fixed shower head.
Shower Arm
Shower arms connect to shower heads. If you’re installing a new shower head, you may also consider replacing the shower arm. There are many options to choose from, so talk to your local trusted plumbing expert about ensuring compatibility with your new shower head.
- Standard – a standard shower arm is around six to eight inches long with a traditional J-bend.
- Overhead – comes out of your wall like a standard shower arm but with a longer arm and more extreme angle.
- Ceiling mount – comes straight down from the ceiling and is typically installed with rain shower heads.
How to Change a Shower Head
Changing a shower head doesn’t have to be complicated. In fact, it can be a task that takes mere minutes when you’re replacing like with like. Gather the following materials, and let’s replace a fixed shower head!
- Pliers/adjustable wrench
- Shower head and related parts
- Thread seal tape
- A drop cloth to put on the shower floor or bathtub
- A drain cover to stop anything from going down the drain
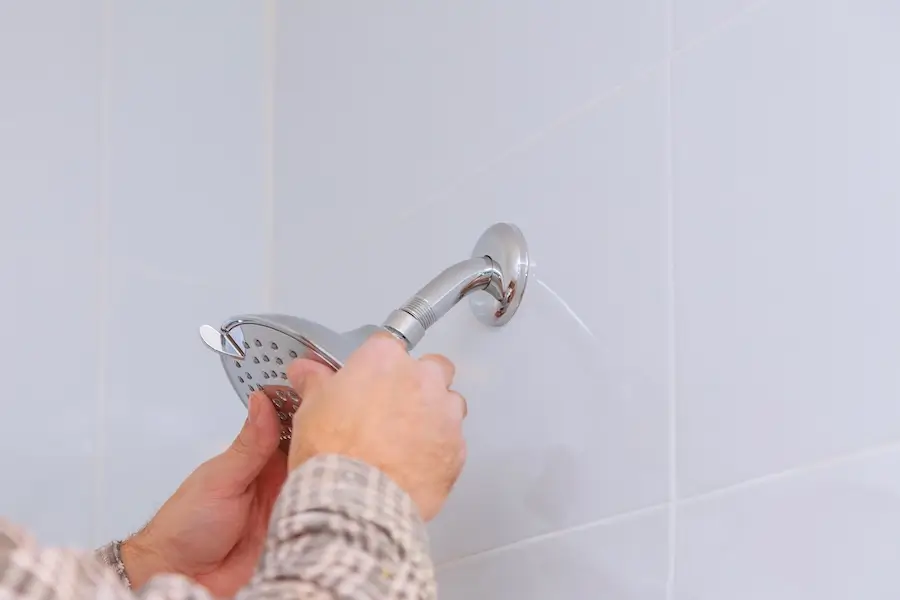
Step 1: Remove the Old Shower Head
Before installing a new shower head, you have to remove the old one! Start by turning off the shower head water valve or the main water valve to your property. Then, manually turn the shower head counterclockwise to unscrew and remove it.
If you can’t remove it by hand, place a cloth or piece of fabric around the shower arm and grip it with your pliers to turn it. Alternatively, use an adjustable wrench to loosen and unscrew it.
After removing the old shower head, clean off mineral deposits, leftover sealant, old tape, and other debris from the thread of the shower arm.
Step 2: Prepare for the New Shower Head
After removing the old shower head, you need to prepare your shower arm for the new installation. Once the thread of the shower arm is clean and free of debris, wrap thread seal tape around it two or three times in a clockwise direction. Make sure the tape is firmly pressed into the threads.
Step 3: Install the New Shower Head
Learning how to replace a shower head is as easy as removing an old one, preparing the shower arm thread, and screwing on a new one!
Before installing a new shower head, ensure the washer inside the new connection is flat and in place correctly. You can then screw the new replacement head onto your shower arm in a clockwise direction until it’s tight. You should notice that the threads are smooth and easy to turn until it starts getting firm.
How to Change a Combination Handheld and Fixed Mount Shower Head
If you currently have a combination fixed-mount and handheld shower head and want to replace like with like, you can follow these steps:
- Connect the diverter to the shower arm and hand-tighten it. This is the component that routes water to the shower head.
- Onto the end of the diverter, screw on the fixed-mount shower head in a clockwise direction until it’s hand-tight.
- Follow the manufacturer’s instructions for attaching the handheld unit mount to the shower.
- Attach the shower hose to the diverter and handheld shower. Make sure the connections are hand-tightened.
- Turn on the water and divert water from the fixed-mount shower head to the handheld unit.
How to Change a Handheld Shower Head
Many property owners have handheld shower heads for convenience. If yours is looking a little worse for wear and you want to replace it, follow these steps:
- Screw the new handheld shower mount onto the shower arm and ensure it’s hand-tight.
- Attach the shower hose to the shower mount as well as the handheld shower. Ensure the connections are hand-tight.
- Put the handheld shower head into its mount.
How to Know You Need to Replace a Shower Head
Knowing how to replace a shower head is valuable information to have. However, not everyone knows when they should replace one! Now might be the right time to consider it if you can relate to these signs:
- A noticeable drop or fluctuation in water pressure
- Leaking shower head
- Sediment and mineral buildup
- Corrosion or rust
- Black mold and mildew growth
- Water temperature fluctuations
- Old age and wear
Get Help with Shower Head Installation from Mr. Rooter Plumbing®
If you’re not comfortable installing your own shower head, reach out to the team at Mr. Rooter Plumbing®. Our expert plumbers are here to help with basic shower head installations all the way through to complete bathroom remodels. Request a job estimate online or call us today.

