Aug 01 2020
If you are looking to increase the value of your home, adding a tankless water heater to your features is a great place to start.
Learn more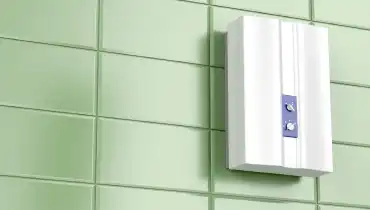
If you are looking to increase the value of your home, adding a tankless water heater to your features is a great place to start.
Learn more
Winterizing your outdoor plumbing is incredibly important. It might seem like a chore, but it can prevent your pipes from freezing
Learn more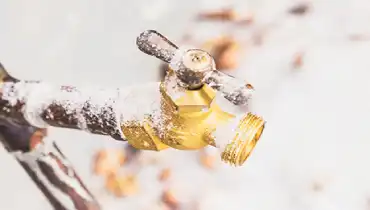
While it may not be top-of-mind, protecting your home’s plumbing is just as important as the other maintenance steps you take to ensure your property runs smoothly.
Learn moreAs quality Charlotte plumbers, leaks are one of the most common problems we deal with.
Learn moreYour plumbing equipment is generally low-maintenance and requires little attention to work properly for quite a long time. However
Learn more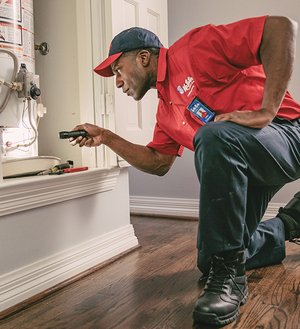
Recently, Texas and other states in the deep south experienced freezing temperatures when Winter Storm Uri arrived. Here in Charlo
Learn more
Since the original Mr. Rooter was founded in 1970, the company has remained committed to a set of core values that are rooted in performing quality work at honest prices. Nearly half a century later, the original Mr. Rooter business is still servicing homes and businesses in and around Oklahoma City. It’s still independently owned and operated with strong ties to the community that made it all possible.