Jul 02 2026
When the temperature outside dips below freezing, you may find yourself without flowing water due to frozen pipes. This leads to q
Learn moreWhen the temperature outside dips below freezing, you may find yourself without flowing water due to frozen pipes. This leads to q
Learn moreDo you have frozen pipes? Even in mild climates, pipes can freeze in the winter, leaving you with the potential for ruptured pipes
Learn more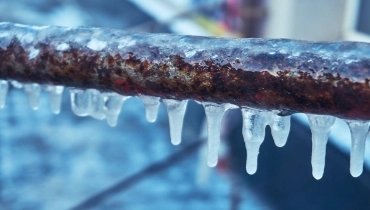
When you think of an outdoor shower, what image comes to mind? Maybe you imagine a luxurious, waterfront beach house or upscale r
Learn more
Have you ever heard the phrase “everything but the kitchen sink” and wondered why the kitchen sink gets to stay? Well,
Learn moreYour bathtub drain can get clogged over time with soap buildup, hair, and other debris.
Learn more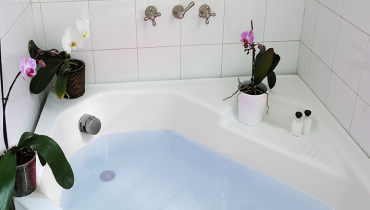
Since it’s not every day you shop for a toilet seat replacement, you may be unaware that there are multiple standard toilet seat sizes.
Learn more.webp)

Since the original Mr. Rooter was founded in 1970, the company has remained committed to a set of core values that are rooted in performing quality work at honest prices. Nearly half a century later, the original Mr. Rooter business is still servicing homes and businesses in and around Oklahoma City. It’s still independently owned and operated with strong ties to the community that made it all possible.
